


Recipe Directions
You'll need a few glass jars or bowls/containers, a mixing bowl, a mesh screen or cheesecloth with a rubber band if sprouting, a food processor, and a dehydrator.
OPTIONAL STEP 1: If you are going to sprout your buckwheat (and you don't have to) for additional life energy, you should soak it now for 8 hours, then rinse it well (cover with about twice as much water, as it will expand as it drinks the soak water). Buckwheat has a slimy film so to get your buckwheat to sprout you'll need to get the film completely off which means many, many, many rinses after it's soaked 8 hours. Once you de-slime your buckwheat put it in a large sprouting jar (2 quart, or 2 one quart glass mason jar(s) with a mesh screen or cheese cloth rubber banded over the top) or a tray and leave it in a place out of direct sunlight to let drain and germinate (if you are using a jar leave at a 45 degree angle mesh side down to drain). Rinse and drain it after about 8 hours, and return it to it's home to drain and sprout. Continue to rinse/drain twice a day for 2 days (or if you are sprouting in a tray you may just choose to spray them with a water bottle to keep them hydrated). In two days you should have visible curly tails starting on your groats, these are your sprouts. They are ready to go. Your sprouted grains have more protein, more enzymes, are more easily digestible, and are brimming with life energy! After your first day of sprouting continue with the directions below for the next step. (If you decide not to make the g*raw*ola, yet you'd like to start sprouting your grains for more protein and life energy, please note that grains do not have a long shelf life even in the fridge. So try to sprout only the amount you are going to consume in a couple days. This recipe calls for much more than that. Make sure your sprouts are totally dry before you store them in a glass jar in your fridge. You can sprout many grains, seeds, and legumes, however they must be raw: quinoa, sunflower seeds, buckwheat groats, oats, pumpkin seeds, wheat, sesame, millet, amaranth, and mung beans all will sprout.)
1. Now all you are going to do is put your almonds & sunflower seeds each in a separate jar, covering them completely with purified water. Cover them with a lid and leave them out on the counter away from direct sunlight to soak for 8 hours or overnight. IF you did not do optional step 1 (which i rarely seem to have the patience to do) then also soak your buckwheat groats now, making sure to cover them with an ample amount of water as they expand greatly. They'll also soak for 8 hours along with your nuts and seeds. The prep work can be just that easy...10 minutes max if you are just soaking and not sprouting.
2. Now you've soaked your nuts and your grains for about 8 hours (or you have sprouted grains and soaked nuts). Strain and rinse your buckwheat groats well through a colander or mesh strainer. Again, it may take many rinses to completely de-slime your buckwheat if you only soaked them. Once rinsed, place groats in a large mixing bowl. Drain and rinse your nuts and sunflower seeds as well. Place just the almonds and sunflower seeds into a food processor along with the pumpkin pie spice, cinnamon, vanilla extract, and sea salt. Process it down so it's combined well but still has some chunkiness. You don't want it to turn into dough. Add this to the mixing bowl of buckwheat groats. Peel, core, and slice your apple. Process in the food processor until it turns into apple sauce (you will need to scrap the apple down the walls of the processor often). Add this to the cereal and mix it well. Add 1/4 cup of agave nectar and stir well to combine (alternately you could use more applesauce/more apples, less agave). Taste and add any additional dashes of spices to suit your palette.
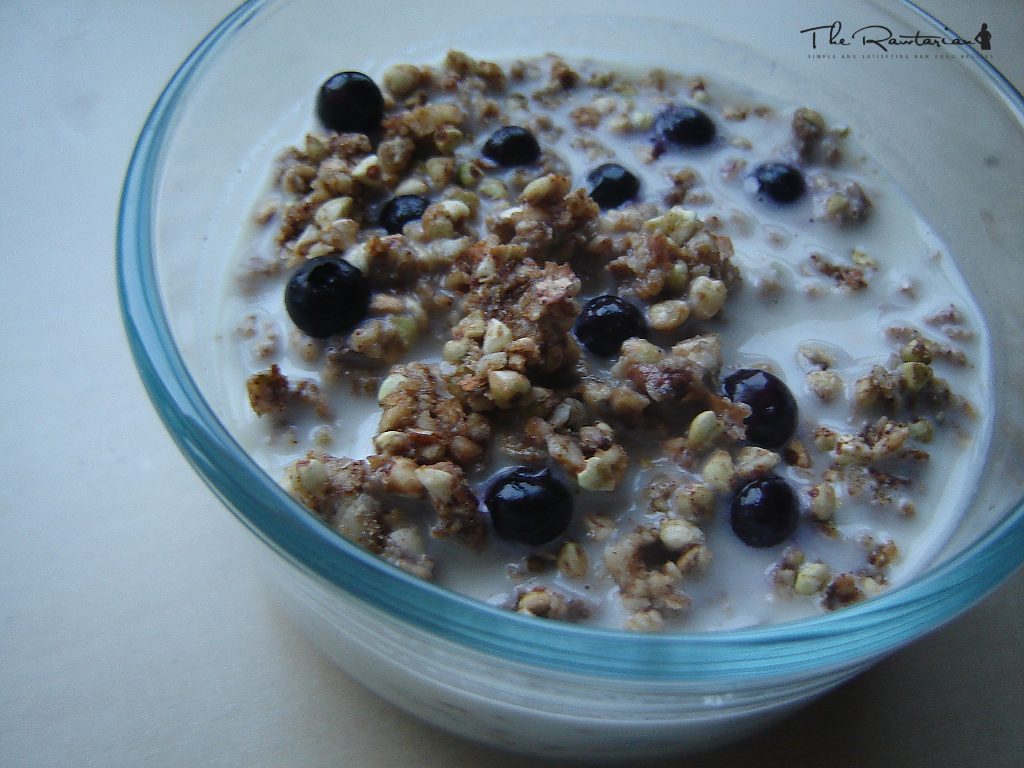
3. We're ready to make G*raw*nola...you can even enjoy a bowl of it as porridge now!! I would suggest topping it with a milk alternative such as Sweet Coco Cream, recipe below, and some dried or fresh fruits or berries. Moist nuts and grains tend not to have a long shelf life, so i always dehydrate the remainder and make it into g*raw*nola. Follow the directions below and you'll be able to enjoy it tomorrow and many days to come.
For the g*raw*nola you'll need your dehydrator. (I suppose you could use an oven on the lowest setting, though you'd have to leave your oven on for quite some time.) Line the trays of the dehydrator with teflex sheets and spread your cereal onto the trays in thin layers. Set the temp to 110 and dehydrate overnight or as long as needed until dry. You can flip the granola half way through drying time to speed the process, but keep it on the liners if your trays don't have thin enough screens to hold the granola. Once dry you can store in a glass jar, but leave it OUT of the fridge, we want to keep moisture out. Serve with raisins, gojis, your favorite fresh berries and the sweet coco cream suggested below, or enjoy it over yogurt or anyway that suits your fancy.
4. To make your diiiii-vine Sweet Coco Cream in a high speed blender: Add all sweet coco cream ingredients, as listed above. Blend well. You can have as is, or sieve through a mesh nut bag to remove the pulp and thin down.
5. Pour over your granola or porridge and enjoy!!
A Grateful Life's Thoughts
 By A Grateful Life
 Ever soaked or sprouted your grains, nuts, or seeds?
Here's a great morning cereal that is bursting with life energy, enzymes, protein, and complex carbs.
The process of soaking releases enzyme inhibitors in the nuts, while allowing the seeds and grains to begin the germination process, reawakening it's vital life energy force.
Soaking also makes your seeds/nuts/grains more easily digestible.
At least once a week allow this cereal to replace your oatmeal, quinoa, boxed cereal flakes, or whatever it is you're already eating.
You'll probably love it and it's vital energy so much that you will have it more than that, but it takes 30 days to break/make a habit...so we'll start slow.
It will take a small amount of prep work...ah ah ah, now don't go bypassing the rest of this entry just because I said 'it'll take prep work' - it's easy.
Plus the recipe provides you with days worth of nourishment, so you don't have to do much later.
You can start now, will only take you a couple minutes...and then finish tomorrow.
The prep work is what makes it so healthy, alive, and brimming with life energy.
Print This Recipe (PDF)
Click the button below to download the printable PDF.
My Notes
You do not have any notes. Add some here. Notes are private and are only visible to you.
Add New NoteHello Beautiful!
It looks like you're new to The Rawtarian Community. If you'd like to get involved, click one of these buttons!
Login to Community Signup for an account Login using FacebookCommunity Recipes


Community Forum
-

+256754810143} ALBANIA LOST LOVE SPELLS CASTER IN ALBANIA ALGERIA ANDORRA ANGOLA ANTIGUA
mamanamatovu - 1 hour 13 min ago -
+256754810143 } BEST DEATH REVENGE SPELLS CASTER ◑ IN ENGLAND, DURBAN, AUSTRALIA, SYDNEY, GERMANY
mamanamatovu - 1 hour 15 min ago -
+256754810143 } TRUSTED WEDDING SPELLS OSY LOVE SPELL CASTER/VOODOO IN Cambodia, Cameroon, Central
mamanamatovu - 1 hour 19 min ago -
+256754810143 } Revenge/death Spells Caster In Harare ,Namibia ,Botswana ,Swaziland ,Zimbabwe
mamanamatovu - 1 hour 20 min ago -
@$+256754810143}@ POWERFUL BLACK MAGIC INSTANT REVENGE SPELL CASTER IN UGANDA, N
mamanamatovu - 1 hour 22 min ago


Comments
Top voted
rawlady
Jan 19, 2012
Love the ingredient combination in this recipe .... will definitely give this a go! Thanks for posting.
All
rawlady
Jan 19, 2012
Love the ingredient combination in this recipe .... will definitely give this a go! Thanks for posting.
Leave a Comment